Introduction
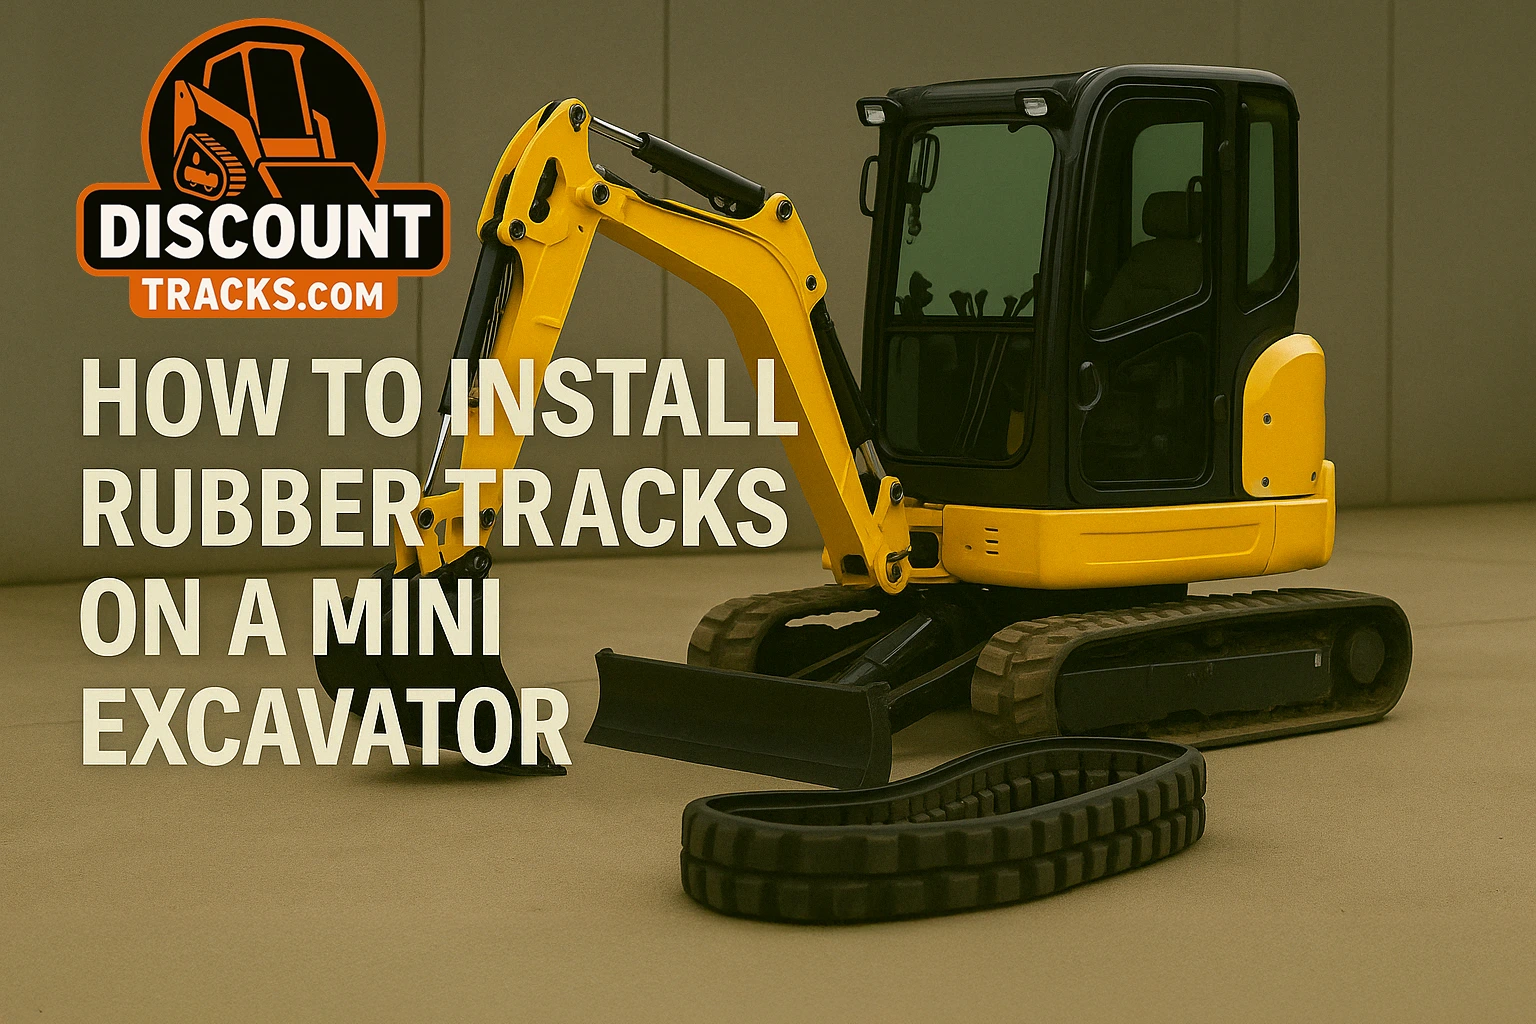
Replacing the rubber tracks on your mini excavator might seem like a smart way to save money on labor, but the process involves heavy components, pressurized systems, and serious safety risks.
Improper installation can lead to injury, damage to your undercarriage, or early track failure. This mini excavator track installation guide outlines the general steps and critical precautions you must take. However, always refer to your specific machine’s service manual for the correct procedure.
Safety First: Critical Precautions Before You Begin
- Consult Your Manual: Procedures for lifting, blocking, and releasing tension vary. Follow your machine’s manual exactly.
- Stable Ground & Workspace: Ensure you’re on solid, level ground with plenty of room.
- Wear PPE: Safety glasses, gloves, and steel-toe boots are non-negotiable.
- Properly Support the Machine: Use the blade, boom, and blocking to lift and secure the machine per manual instructions. NEVER rely on hydraulics alone.
- High-Pressure Grease Warning: Tensioners hold pressurized grease. Releasing pressure incorrectly can be dangerous. Follow manual instructions closely.
- Beware of Pinch Points: Keep limbs and clothing clear of the track, boom, and undercarriage.
- Track Weight: Mini excavator tracks are heavy. Get help if needed.
Tools You’ll Likely Need (Check Your Manual)
- Proper blocking (hardwood or rated stands)
- Correct-size wrenches (for tension valve, etc.)
- Grease gun (with manufacturer-recommended grease)
- Pry bars / track installation tool
- Tape measure & straight edge
- Safety gear (glasses, gloves, steel-toes)
- Your service manual
Step-by-Step: Mini Excavator Track Installation (General Overview)
Step 1: Lift and Secure the Machine
- Lift & Block: Follow manual instructions to raise the track off the ground using the boom and blade. Block securely.
- Release Tension: Locate the grease relief valve. Slowly loosen it to release pressure and allow the track to slacken. Do NOT remove the valve fully under pressure.
Step 2: Remove the Old Track
- With tension released, carefully remove the track from the idlers, rollers, and drive sprocket. Use tools only as needed. Avoid damage and pinch points.
Step 3: Inspect the Undercarriage
- Sprockets: Look for worn, sharp, or hooked teeth.
- Rollers: Check for free spin, leaks, or flat spots.
- Idlers: Inspect for flange wear, wobble, or leaking seals.
Action: Replace any worn components before installing new tracks. A bad undercarriage will ruin your investment.
Step 4: Install the New Track
- Check Direction: Note directional arrows and orient the track properly.
- Fit Around Components: Start by engaging the drive sprocket or front idler. Carefully work the track around the rollers and remaining idlers.
- Use Tools Cautiously: Track installation tools or pry bars can help, but be safe. Extra hands are often needed.
Step 5: Tension the Track Correctly
- Pump Grease: Clean the fitting and use your grease gun to slowly add pressure.
- Measure Sag: Use a tape and straight edge to check sag. Adjust until it matches manual spec.
Do NOT overtighten. Proper sag is essential to track life.
Step 6: Final Checks
- Lower the Machine: Remove blocking safely.
- Test Movement: Drive forward/backward slowly and make light turns.
- Recheck Tension: Tracks may stretch. Stop and verify sag again.
Key Tips for Success
- Keep work area clean.
- Double-check track direction before final installation.
- Don’t rush – safety first.
- If you’re unsure or stuck, call a qualified tech.
Why Proper Installation Matters
Doing it right ensures:
- Safe operation
- Full track lifespan
- Avoiding damage to sprockets and rollers
High-quality tracks from Discount Tracks will only deliver top performance when installed on a healthy undercarriage and properly tensioned.
Conclusion
Installing rubber tracks on a mini excavator is no small task. It demands precision, physical effort, and strict safety. Your manual is your guide, and skipping steps could cost more than you save.
If you’re ready to take it on, be prepared. If not, call a pro.
Need new tracks? Shop durable, high-value replacement rubber tracks at DiscountTracks.com or contact our team for expert support.


